• Work
  • Blog
  • New Events
  • Prints
  • About
  • Contact
Timothy Farmer Photo/Video/Tours/Marketing

Timothy Farmer Photo/Video/Tours/Marketing

  • Work
  • Blog
  • New Events
  • Prints
  • About
  • Contact

The Orton Effect

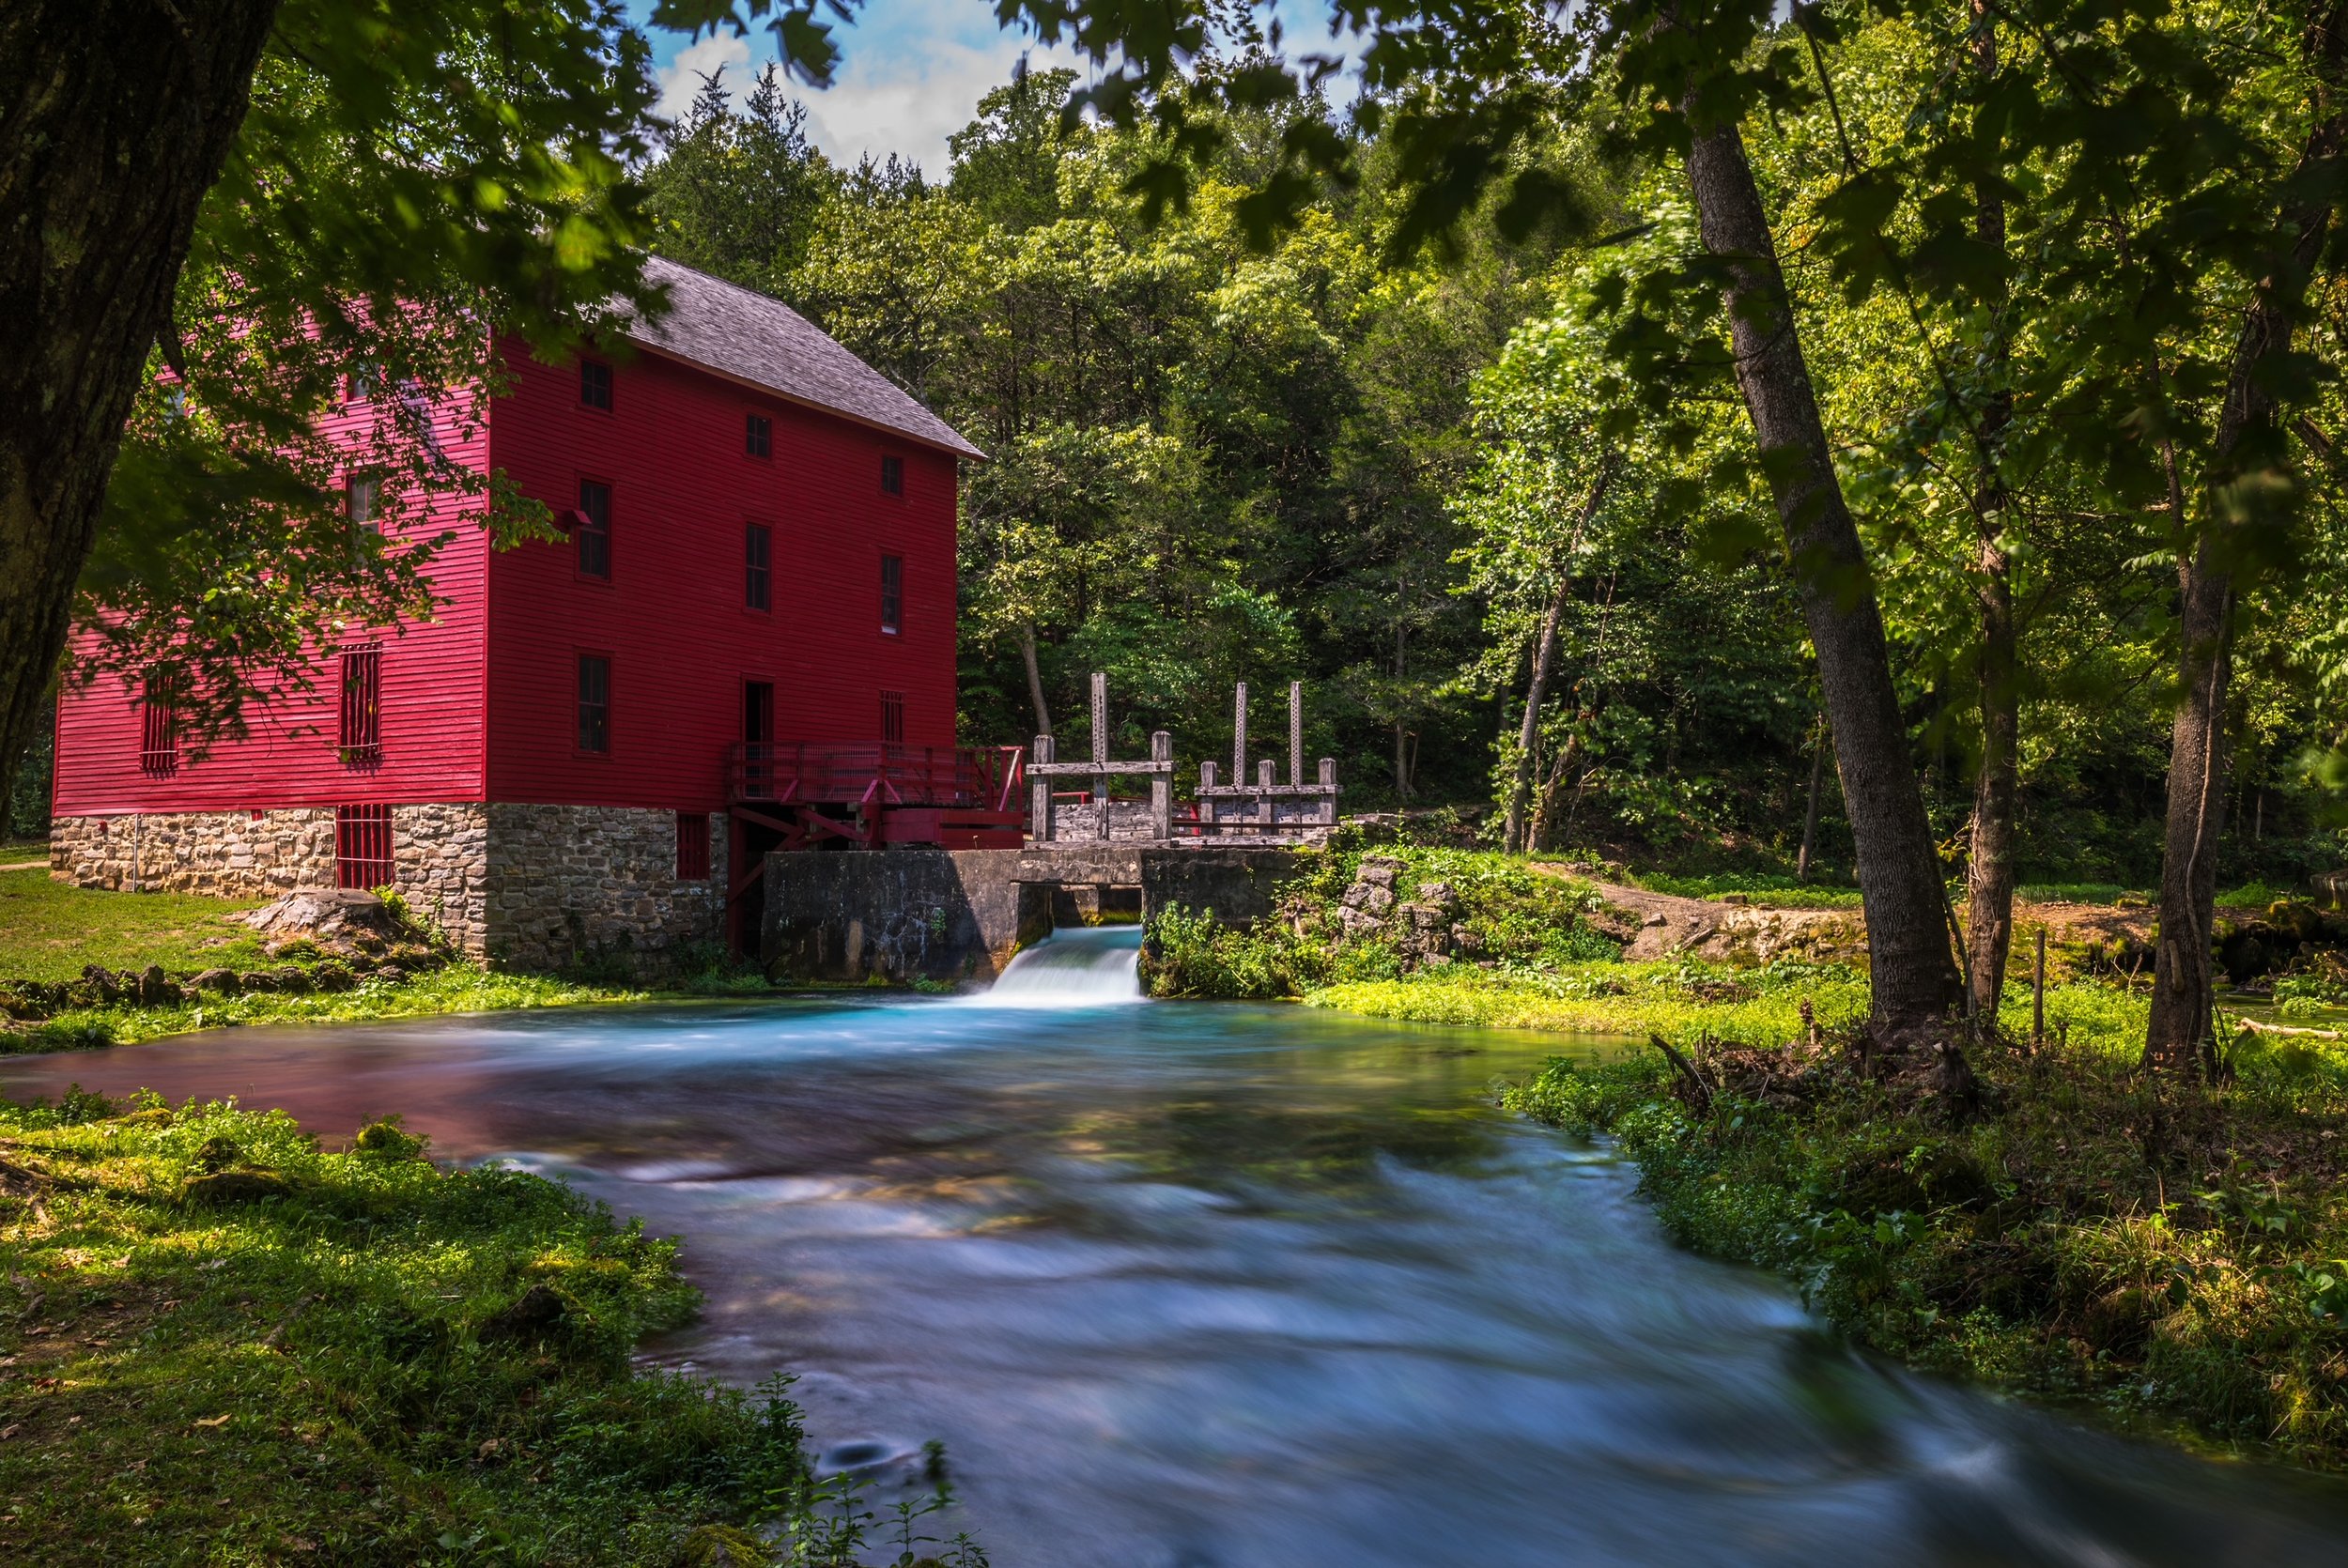
Sometimes you must give the customers what they want. Recently I had a request for some of my landscape images but with that soft dreamy look. I shoot with Nisi Black Mist filters, but they wanted something a little more. So, I investigated what they were talking about. I remember teaching about the Orton effect and quickly realized that is what they wanted.

For those who do not know, the Orton effect comes from a Canadian photographer, Michael Orton, from back in the 80’s. He would shoot and use a few sheets of film to get a dreamy glow to his work. With the advent of digital, it is an easy effect to achieve and if not overdone, can look very nice. You still have a sharp image, but with a softness to it.

When I first started doing landscape photography after moving from commercial work, I played around with it, but at the time my gear really couldn’t hold up to the process (or maybe I was so accustomed to the clean, sharp commercial look and I never quite liked it).

Over the last few years of landscape shooting, my style has changed, and I’ve been looking to bringing this effect back into my workflow, so I was more than happy to accommodate my client. The Black Mist is a great filter to use and will give you some of that feel but doing it in post will give you a little more control.

So here is how you can achieve it in your work.

Start will a well exposed and good-looking photo. Open in Photoshop (or editing software of your choice that allows you to use layers, gaussian blur, contrast and brightness adjustments).

 Step one and two: Duplicate and lighten duplicated layer.

Step three: Apply gaussian blur so image is no longer recognizable but not totally distorted. A good rule of thumb is to use blur amount at about the size of your file. This image was taken with an R5 at 45MP so I used a radius of about 45 pixels.

Step Four: Adjust contrast and lighten. Contrast around 75 and brightness around 20-25 are good places to start but play around until you find what looks good.

Final step: Adjust layer by using fill slider, I find between 20% & 30% usually looks good.

I find this effect can be nice if not overused. It adds a nice atmospheric look to an image, and it can really help out on contrasty days when the light is a little harsh. You can find other ways of doing this, but I like this straightforward approach, and it is easy. You don’t need to buy someone else’s presets.

tags: photo tips, photoshop proccessing, photography, orton effect
Friday 08.30.24
Posted by Timothy Farmer
 

Why are Mirrorless Cameras Becoming So Popular? A Buyer's Guide to Mirrorless Cameras

A brief explanation on why mirrorless cameras are taking over and review of some popular general purpose, v-logger, and landscape cameras.

Read more

Friday 10.14.22
Posted by Timothy Farmer
 

How to Photograph the Lunar Eclipse - May 15

Learn how to photograph the May 15, 2022 Lunar Eclipse

Read more

Thursday 10.13.22
Posted by Timothy Farmer
 

Autumn Photography Tips – Capture Great Colors

Glade Creek Grist Mill: Babcock State Park

Autumn is one of my favorite times of the year to get out and photograph. The cool refreshing temperatures, the colors, and shorter days means I do not have to get up as early for sunrises.Grab your gear and some coffee, it’s time to get up and go out to capture the colors and here are some tips to help you.

Tip #1. Revisit your favorite places to photograph landscapes. This helps as you are familiar with the location so you don’t need to do as much research. It also allows you to experience these locations with a different look to them.

Garden of the Gods - IL

Tip #2. Bring more than a wide-angle lens. While wide-angle lenses are a go to for landscapes photographers a telephoto and a macro lens are great to have with you. Sometimes the colors are not everywhere or as good as we wish so if you can focus on details you often walk away with great images. When using a telephoto lens, look for texture, patterns, and splashes of color.

Shot with 400mm Lens at Garden of the Gods - IL

Tip #3. As with tip #2, wide is not always an answer, look for small things. Take a few minutes and look at how leaves have fallen, get close and see the details as they change colors.

100mm Macro

Tip #4. This is a great time for wildlife photographers. The migrating birds are in mass and flight. Other animals are in their rutting season and are often more active (but be careful, they can be aggressive at this time as well).

Lone Elk Park - St. Louis, MO

Tip #5. Bring your polarizing filter with you. This really goes whenever you go out, but in autumn it can really help making colors to pop! This is the one filter I recommend always having in your bag because it is the one that you cannot replace with Photoshop tricks.

Tip #6. Frost and frozen water. On the really cool mornings you can be rewarded with some true magic. Yes, this means you want to be at your location at sunrise (so much for sleeping in, but as I said, dawn comes late compared to summer, today dawn was at 7:22).

Tip #7. Take sometime when you get by water and look for abstracts. Colors reflecting in moving water can really be stunning. This is one time you don’t want to use a polarizing filter.

Tip #8. Now stop waiting and hit the road!

Lost somewhere in the Smoky Mountains

Thursday 10.13.22
Posted by Timothy Farmer
 

Summertime Photography

Places to go the gear to take with you to capture photos at your favorite Missouri locations.

Read more

Thursday 10.13.22
Posted by Timothy Farmer
 

Powered by Squarespace.